
If you’re playing Remnant 2: The Dark Horizon, you probably know by now what to expect: branching dungeons, great loot with some of it hidden behind puzzles and riddles and tough-as-nails bosses. The Dark Horizon DLC brings with it a suitably epic final boss fight against Alepsis-Taura with multiple phases and some damaging moves that can wipe off a nice big chunk of your health bar. You will have to go in fully prepared, and that’s where we come in: In this guide, we have put up everything you need to know to defeat the Alepsis-Taura in Remnant 2.
In This Post
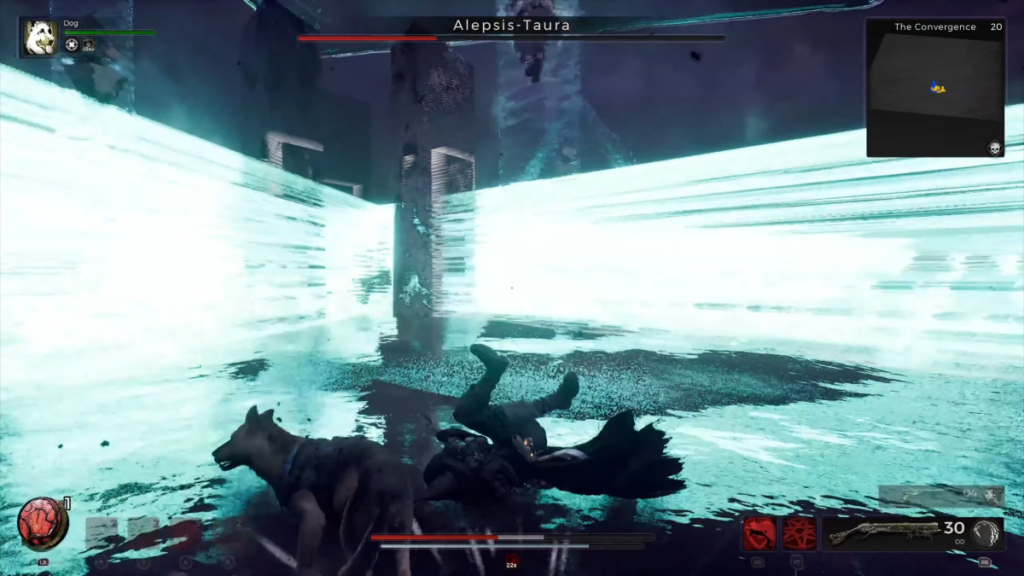
Alepsis-Taura Location In Remnant 2
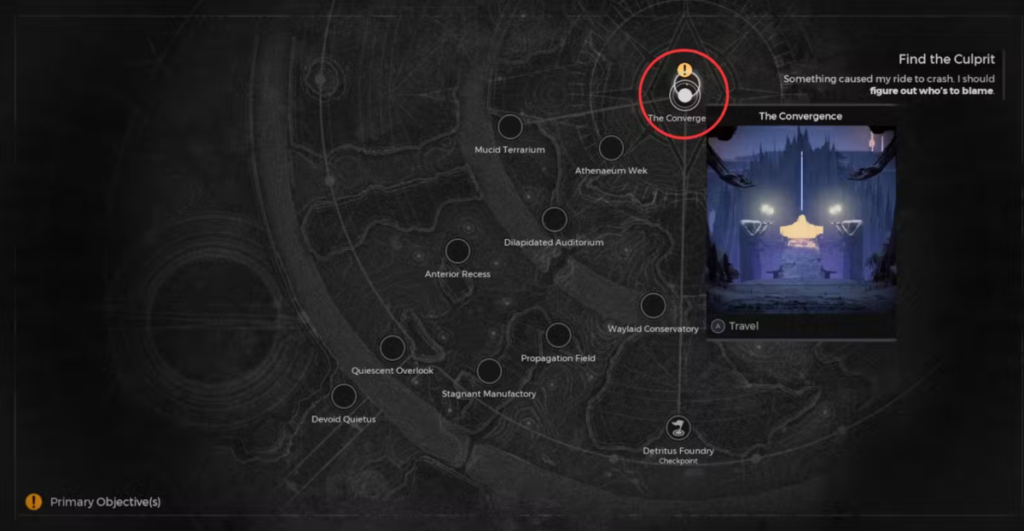
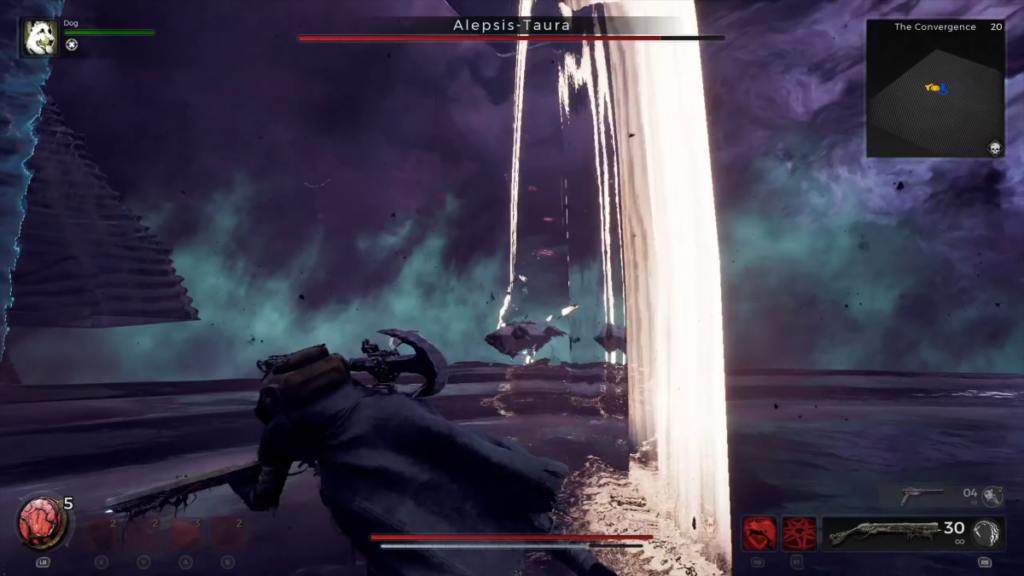
Head to The Convergence to defeat the Alepsis-Taura. It is the final area of the DLC and is located at the top of a tower-like structure. This is the same tower that the Gardener ominously warns you against visiting when you first meet him.
After exhausting all dialog with the boss, like in the case of quite a few boss fights in the game, you have two different sets of rewards. In this case, it is decided by whether you choose to fight the boss right away or return later.
How To Beat Alepsis-Taura In Remnant 2 The Dark Horizon
Before you take on Alepsis-Taura, we highly recommend that you take out the two prism crystals connected to the boss. It will make the fight much easier. If you do not destroy them, you’ll take unnecessary damage while dealing less of your own.
Phase One
Audio Cues and Dodging
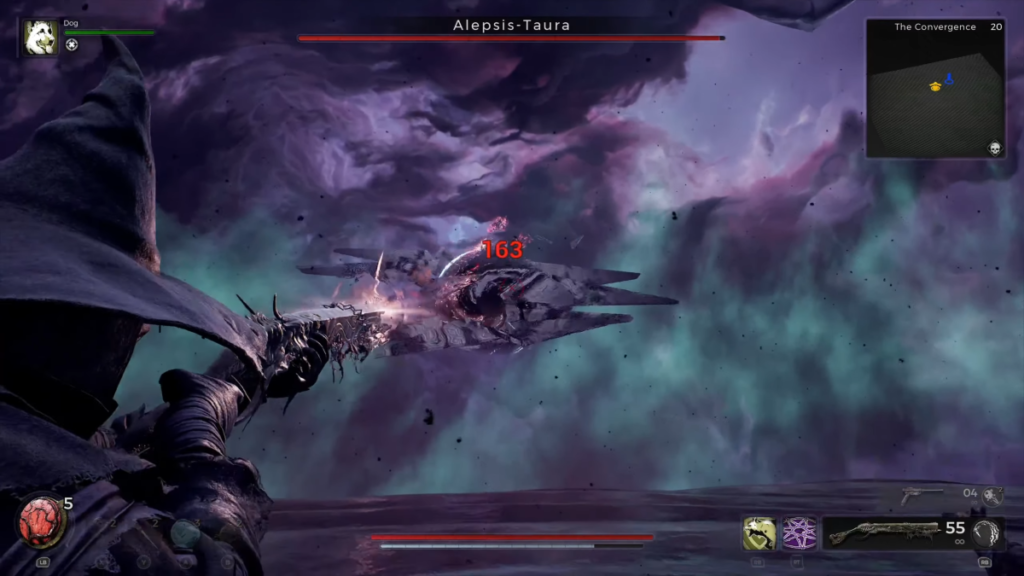
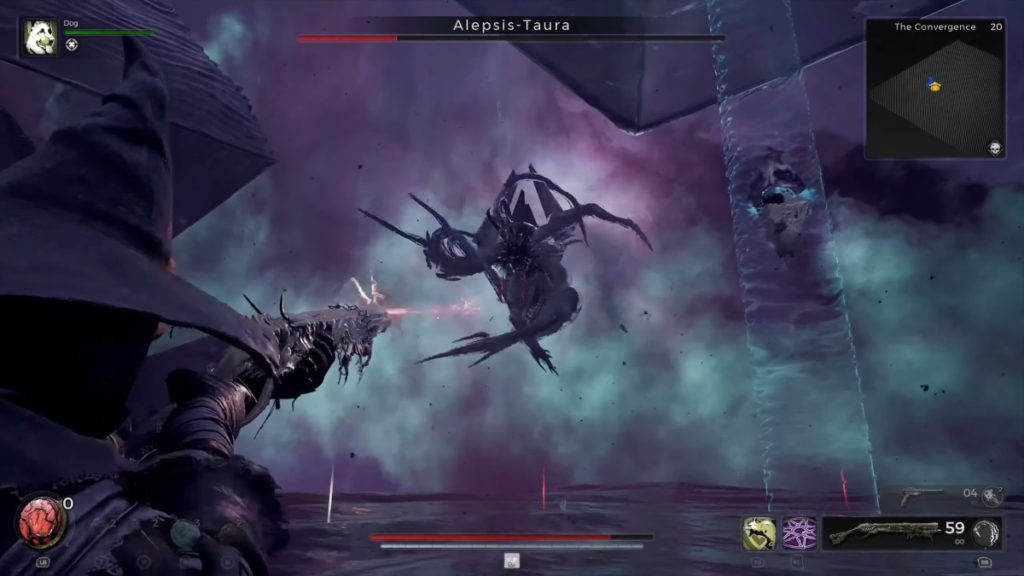
The key to beating Alepsis-Taura is learning its attack patterns and dodging at the right moments. You’ll have to understand the audio cue in this fight and use it to your advantage.
There’s a specific sound when Alepsis-Taura is about to unleash a big attack — this is your signal to dodge. This move happens twice in a row. After you dodge the first, roll through the second attack immediately.
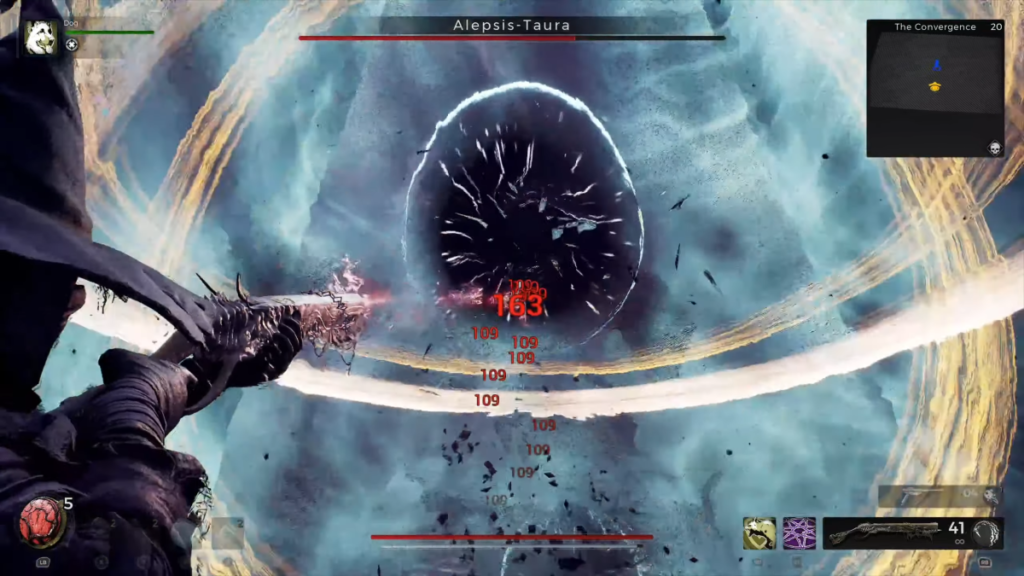
Another attack you should look out for is the circular horizontal and vertical beam pulses. This attack looks intimidating, but you only have to dodge the horizontal one. Focus on timing your dodge perfectly to avoid the slicing ring.
Strafing and Dodging
During phase one, Alepsis-Taura will unleash another set of attacks your way. Do not try to dodge every move. The trick here is to strafe around the first attack and then dodge the second one, which usually deals more damage.
Phase Two
Dealing with Prism Walls
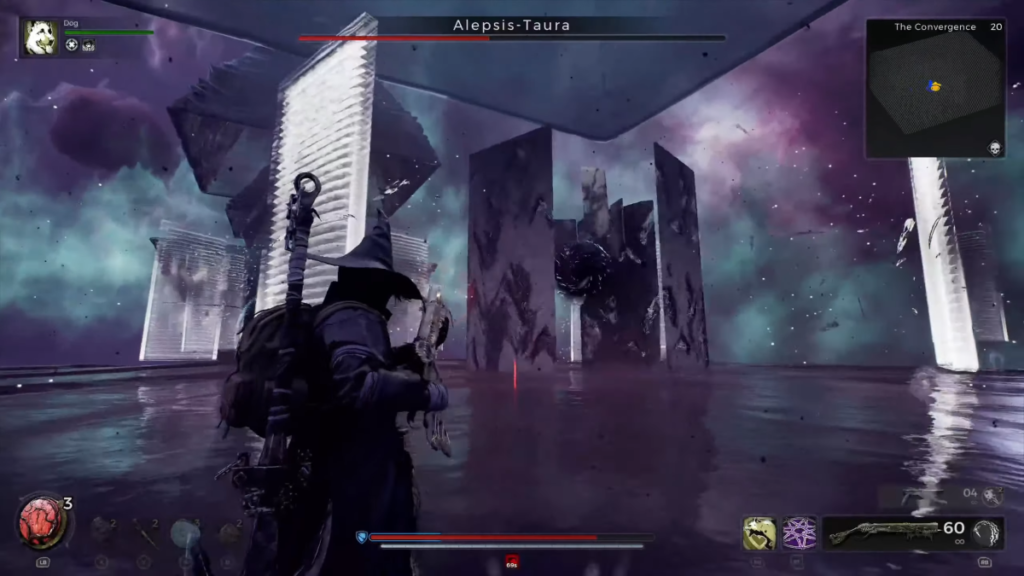
Alepsis-Taura will also throw up some prism-like walls throughout the fight. These are more of an inconvenience than a real threat. All you have to do is move around them and keep your focus on damaging the boss.
Look for the red numbers when you’re hitting it — that’s your confirmation that you’re doing significant damage. Keep moving around those walls, and don’t let them slow you down.
Dealing with Tentacles
Alepsis-Taura attacks you with massive arms that come crashing down. It creates vortexes that pull you in while hitting you with sweeping attacks.
It’s a lot to handle, so here are some tips to help you out:
- When the tentacles drop, try to get away from the vortex so you have time to heal or reload. You’ll also be able to better see where the tentacles are going to land.
- Position yourself in safe spots and use the opportunity to heal up or prepare for the next move.
- Distance is your best ally in this phase. By getting far enough away, you’ll avoid getting sucked in.
- The tentacle attack also comes with an audio cue, similar to the earlier attacks. Listen closely, and when you hear it, be ready to dodge. Once you get the hang of these audio cues, you’ll start dodging instinctively.
Phase Three
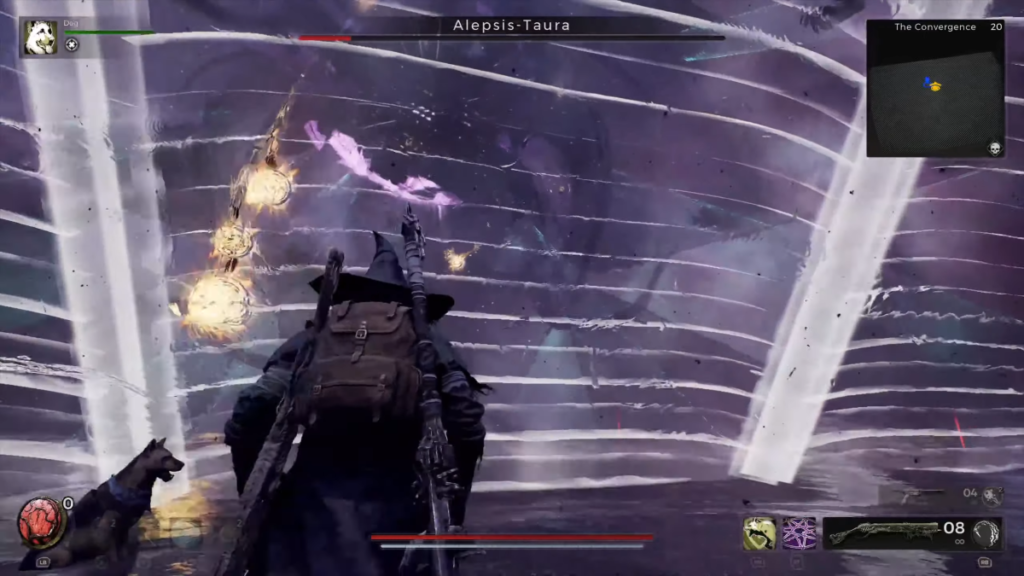
As the fight progresses and Alepsis-Taura’s health drops, the boss will begin throwing more attacks your way. Large walls will come toward you, and the best way to avoid them is to roll right through them at the correct moment.
Another attack to watch for is a massive ring that spreads across the battlefield. It’s tricky to dodge, but with good timing, you can avoid getting hit.
There’s also a set of pillars that drop down in the later stages of the fight. You’ll want to position yourself inside one of these pillars to avoid getting smashed. These moves are all designed to limit your mobility and keep you from firing at the boss. But if you stay calm and dodge through them, you’ll find openings to deal damage.
This Might Interest You: How To Get Perception Trait In Remnant 2: A Complete Guide
Final Moments
Once Alepsis-Taura’s health is nearly depleted, the boss will become more aggressive. It will start launching projectiles at you and putting up more barriers.
Don’t stop shooting, as this is the final stretch. The longer you drag the fight out, the more chances you have to get hit by these new threats. Keep dodging and shooting whenever you have an opening.
Rewards On Defeating Alepsis-Taura In Remnant 2
Defeating Alepsis-Taura in Remnant 2 gives you different rewards based on how you approach the fight.
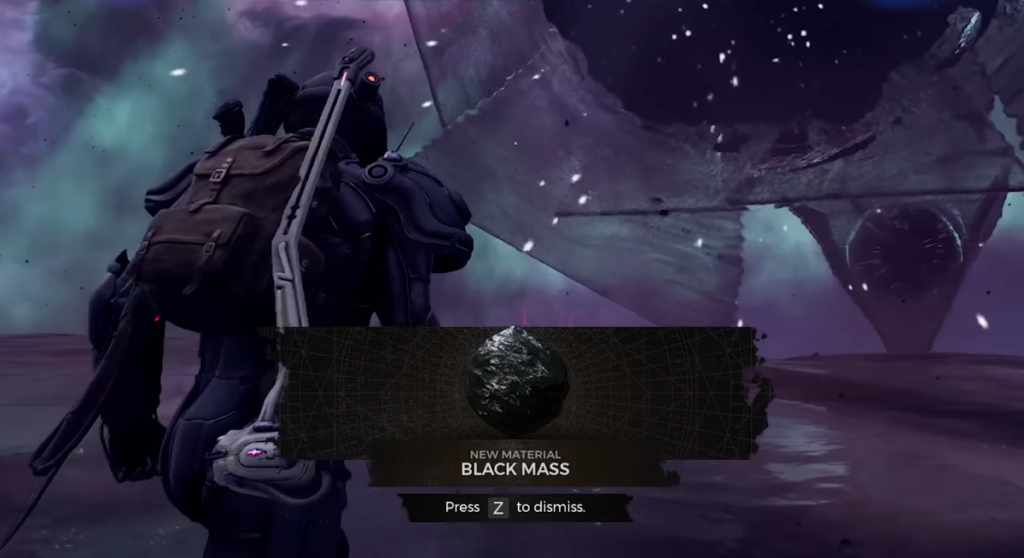
If you destroyed both the prism crystals before defeating Alepsis-Taura, you’ll receive the following rewards:
- Black Mass
- Luminite Crystals
If you managed to destroy one of the two crystals before defeating the boss, you won’t receive the Black Mass.
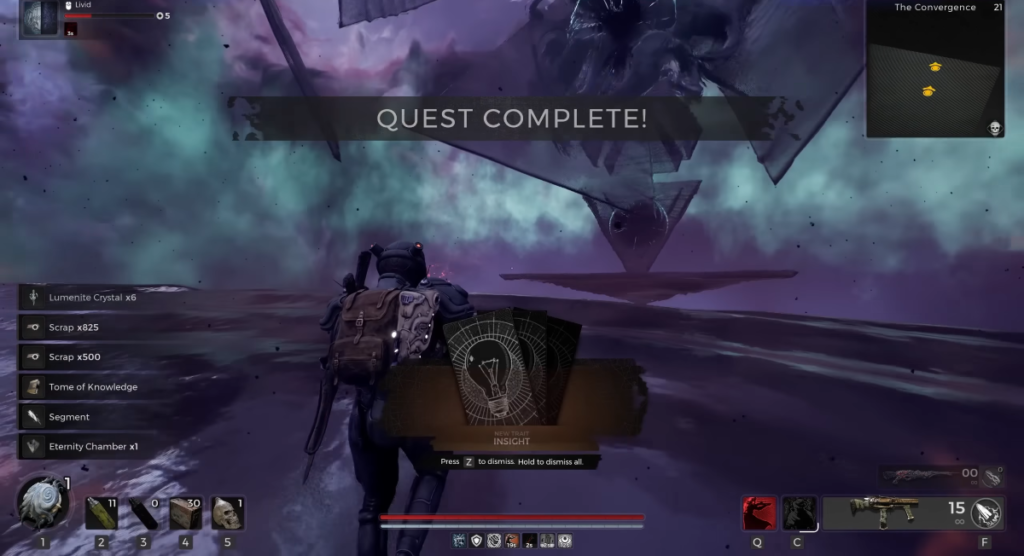
On the other hand, if you defeat the Alepsis-Taura early, you’ll get an alternate set of rewards. It includes:
- Insight Trait
- Eternity Chamber
Note: You’ll receive Tome of Knowledge and Scrap in addition to the other rewards in both the endings.
Here’s a table covering all the rewards you can get after defeating Alepsis-Taura in Remnant 2:
| Reward | Type | Usage |
| Black Mass | Crafting Material | Can be used to forge the Dark Matter Gauntlets, a melee weapon. |
| Lumenite Crystal | Upgrade Material | – Ava McCabe uses it to craft weapons and mods- Don “Rigs” Rigler uses it for upgrading special weapons- Wallace can upgrade Relic Charges for 10 crystals per charge |
| Insight | Trait | Grants a passive ability to regenerate Mod Power automatically. At the highest level, it restores 10 Mod Power per second. |
| Eternity Chamber | Crafting Material | Use it to craft the Monorail Long Gun. |
| Tome of Knowledge | Consumable | – Grants an extra Trait Point.- If you’ve reached the Trait cap (85), you’ll receive 500 XP for your Archetype and 500 scrap. XP is divided between two Archetypes if needed. |
| Scrap | Crafting Material | Essential for crafting weapons, armor, rings, relics, and items. Also used for upgrading most equipment. |